Recently, I had to do a bit of video editing and this article is a quick how-to on blurring a section of video using Openshot (version 2.5.1).
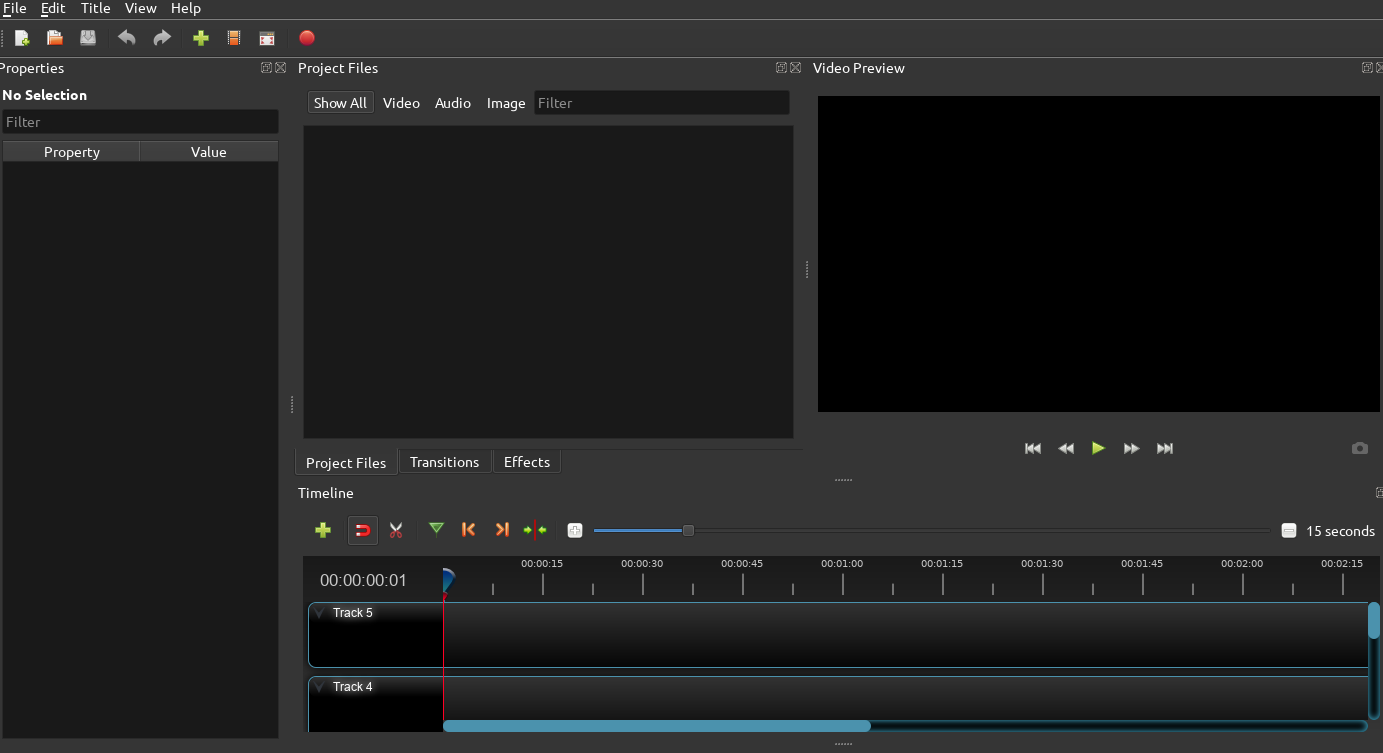
Note that since I am a complete novice to video editing so a lot of this article will focus on the basics. When you start up Openshot you are immediately presented with a simplified view of a project which has a section for files, the final video preview and a bunch of tracks at the bottom. The tracks are the most interesting part as this is where we will actually add our video files. Each track is a video with the video on the first track playing over the one below it and so on. Thus, by combining the tracks, we can create something fancy.
Now let us suppose that we have a video with a little section that we would like to blur out. The general idea behind this approach is actually quite simple. We layer the same video on top of each other. However, on the first track we will crop the section that we are interested in blurring and apply the blur filter on it. Thus the video on the first track will be our blurred out feature and the rest of the video will play seamlessly around it. If the section to be blurred is something that is moving e.g. a license plate, then the process would involve a bit more work as we would need to change the crop size from one point in time to another to follow the feature. Openshot does provide a transition so you do not need to fiddle with the crop frame by frame either - a few crop points is generally enough.
In the following example we will use a stock video of a car and try to blur out a little section of the license plate.
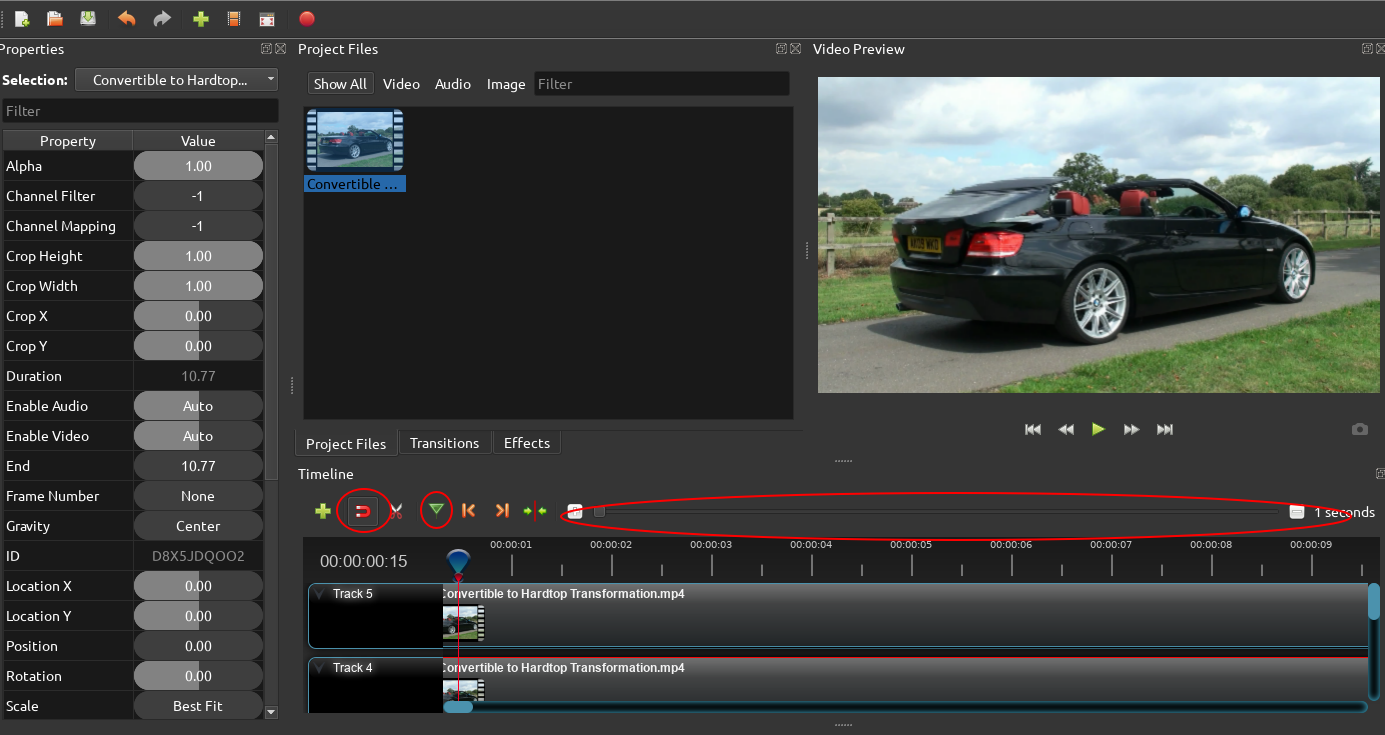
Step 1: Add the video and make a copy of it on the second track.
Step 2: Add the start and end markers by right-clicking on the playhead on the tracks. Note that you can zoom in and out on the time resolution as well as enable snapping for easy video traversal. The start and end markers are essential as they will allow you to re-align the cropped video back on to the original.
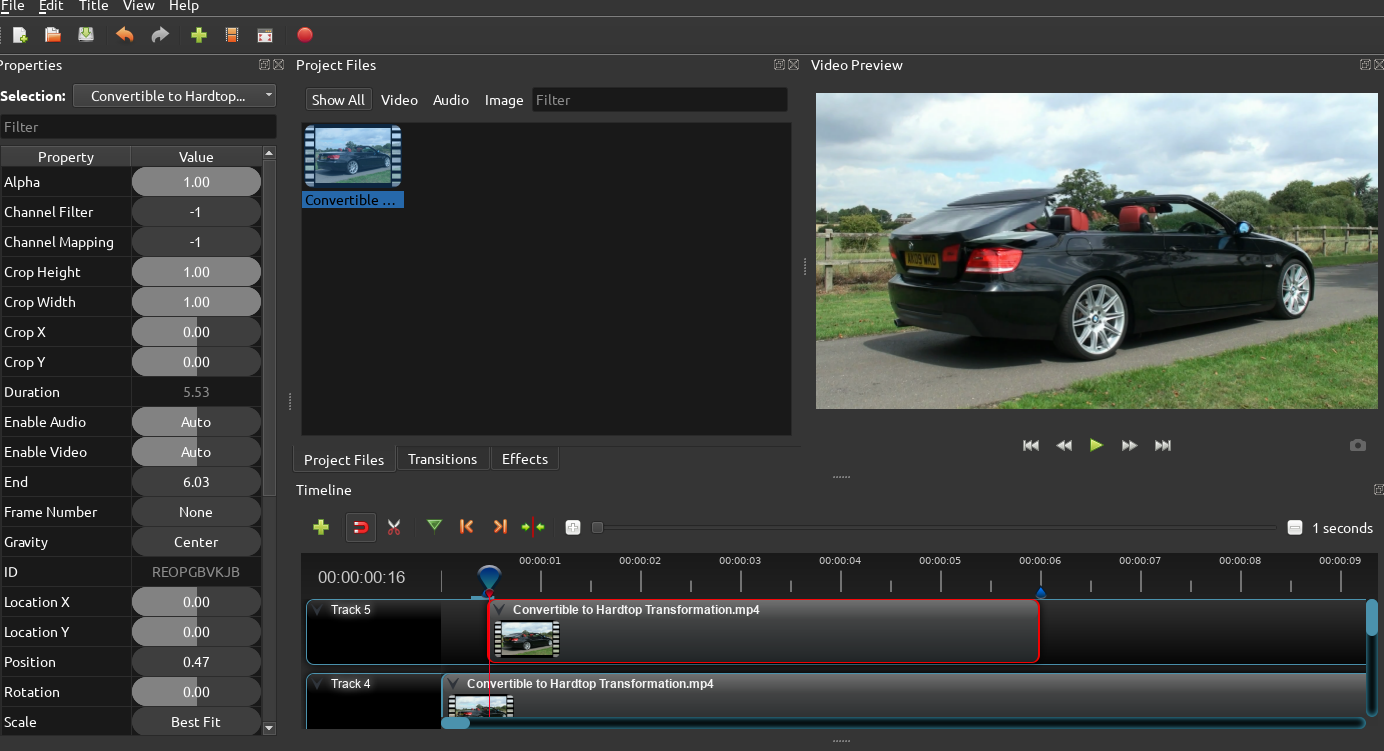
Step 3: Align the play head on the markers and crop the video on the first track - right click, slice, keep right side and then keep the left side on the second marker.
Step 4: Move the top track past the original video so that we can work on it independently.
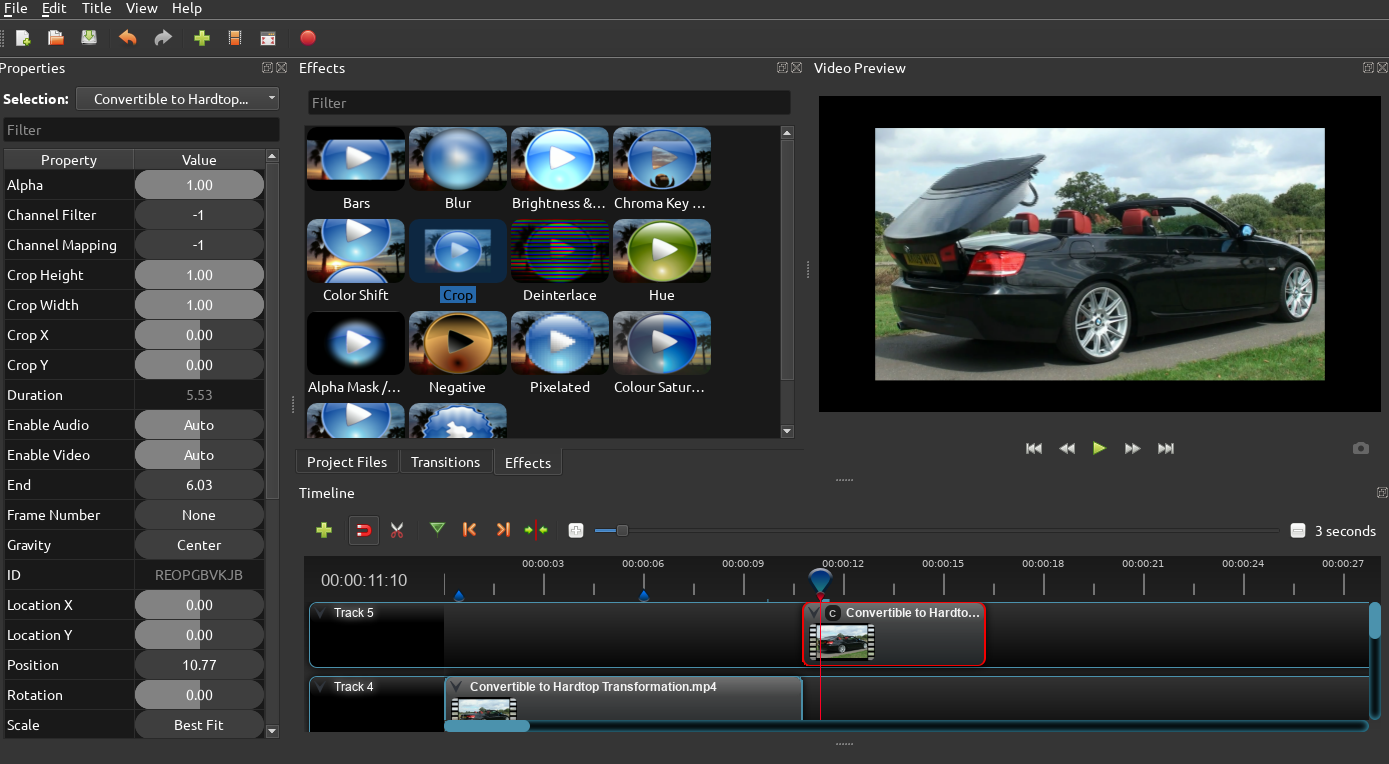
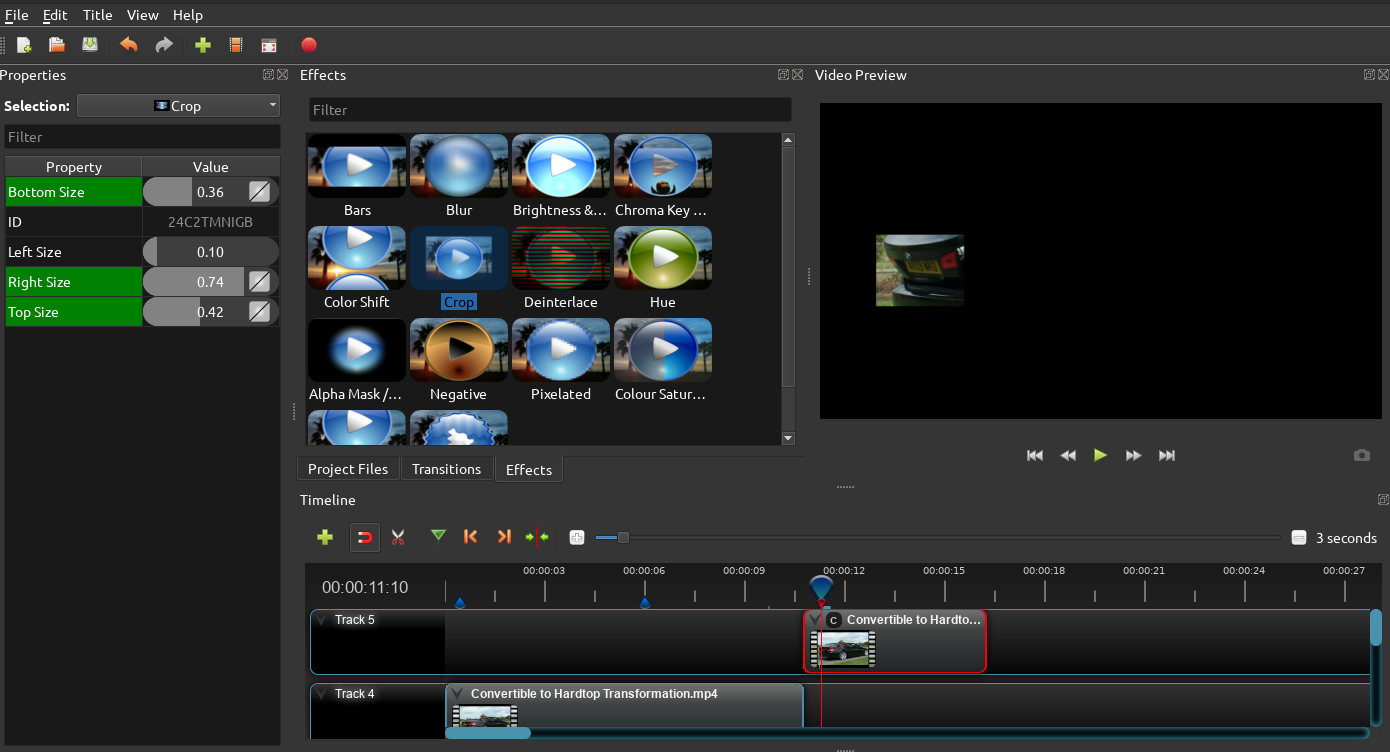
Step 5: Pick the crop effect and drag it onto the top track.
Step 6: Modify the crop effect to center in on the feature only. If you're interested in tracking the feature you can move the play head to a few points in time and re-adjust the crop points.
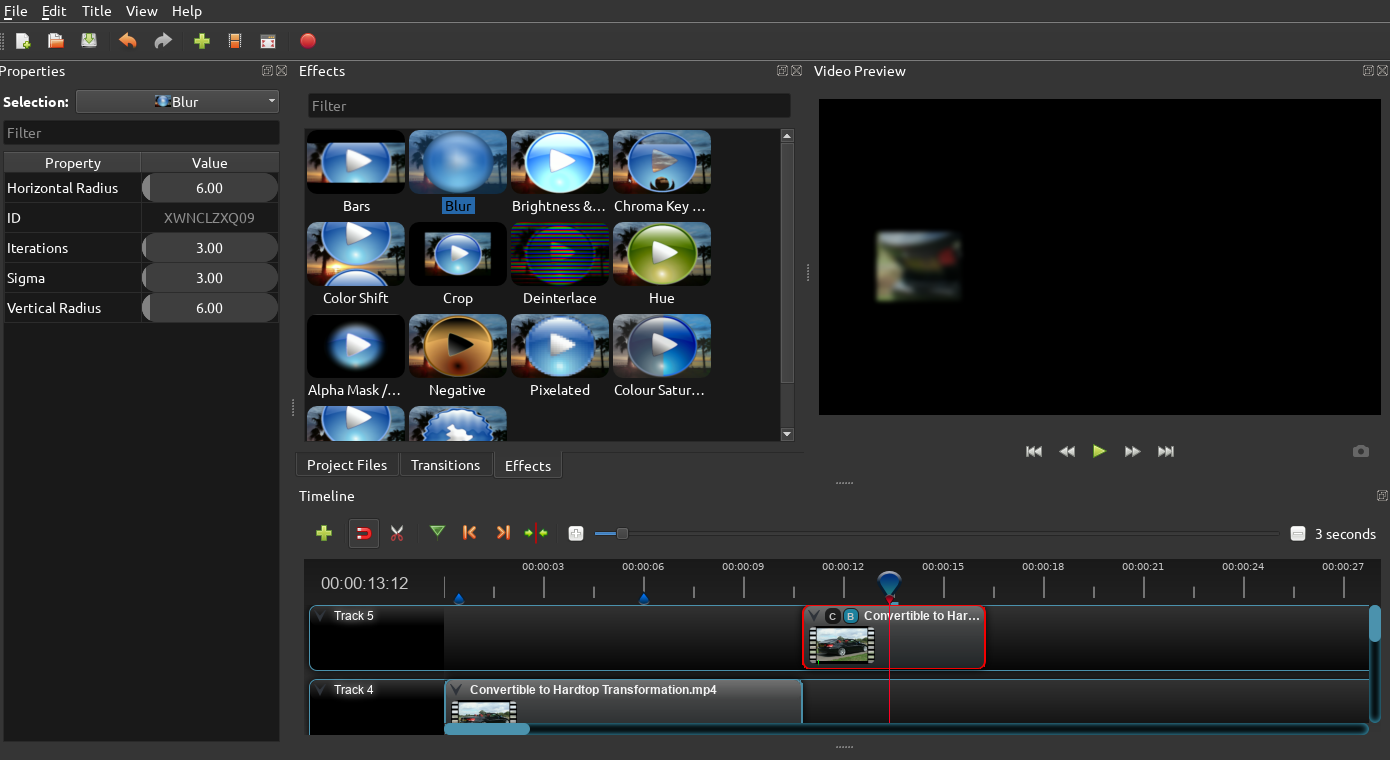
Step 7: Add the blur effect to the top track.
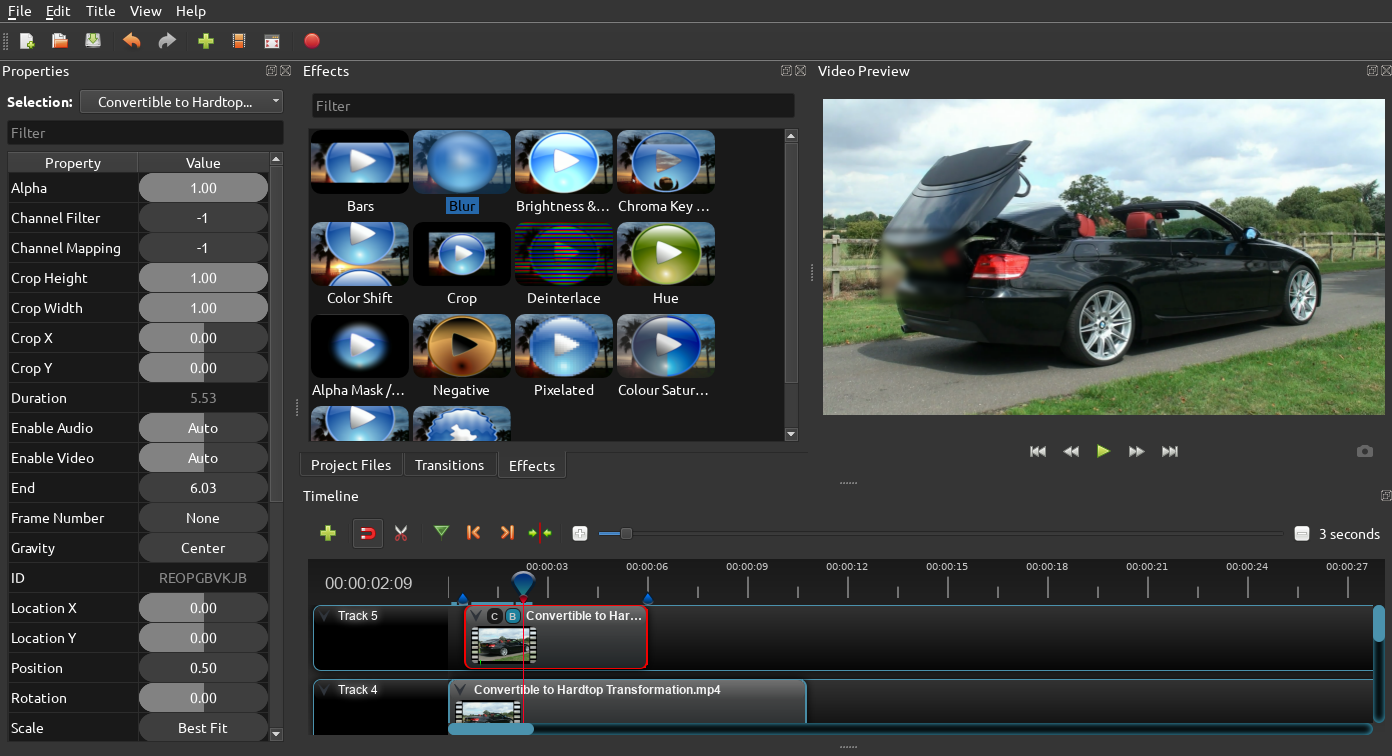
Step 8: Re-align the top track back on to the original video using the markers and the blur effect should be visible on the original!
You can now export the video via the various presets presented. Try to save a bigger video file and re-encode to a smaller size via another application, e.g. Handbrake. Oh, also don't forget to add video editing to your resume :).
